
Features and Benefits of Microsoft 365
Microsoft 365 or Microsoft Office 365 has all the apps that help you reach your business or educational goals. Learn […]
The IncWorx Blog
Microsoft 365 or Microsoft Office 365 has all the apps that help you reach your business or educational goals. Learn […]

Microsoft Teams is a collaboration platform that combines all the tools your team needs to be productive. MS Teams is […]

Part of the Microsoft Power Platform, Power Automate (formerly known as Microsoft Flow) is a must-have tool for any business. […]

Technological advancement is happening at incredible speeds, with modern workplace operations changing alongside it. Employees must adapt and implement Microsoft […]

Power Automate, previously Microsoft Flow, is a powerful tool for creating business process flows to complete one task after another […]
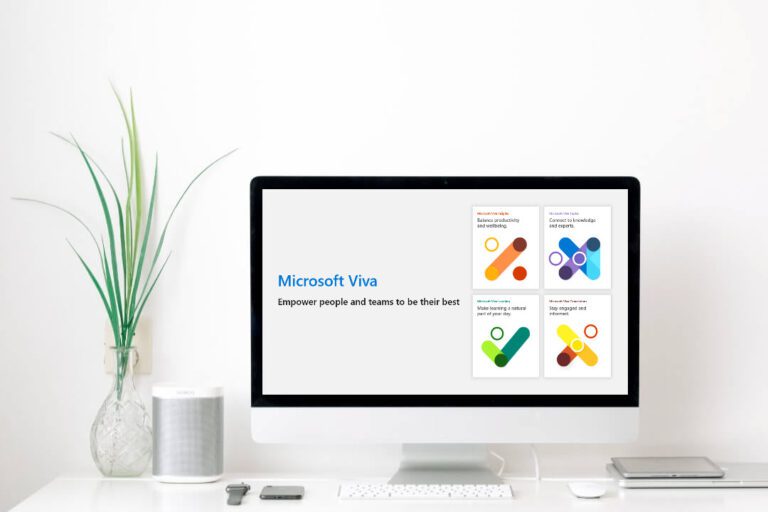
This article answers the question, what is Microsoft Viva? Employee engagement has resided in the background of corporate priorities for […]

This article will compare Power Automate vs Logic Apps and help you better understand what the right choice is for […]

This article gives an overview of what business application development is and why it’s important. Today, more people spend time […]

This article looks at why you might migrate From Google Workspace to Microsoft 365. Google recently announced that it has […]

Data. It’s such a small word, but it’s literally at the heart of everything we do. It doesn’t matter if […]

It’s time to tackle the .NET modernization project. Microsoft released its .NET framework in 2002. The Windows-dependent framework created an […]

Microsoft Power Pages is a newly released Power Platform technology that Microsoft has yet to launch fully, and we are […]

When most people think about portals, they think of something scientific and from the future. Perhaps this is why Microsoft […]

As businesses strive to compete in a global market, they look for any advantage they can get. Business intelligence vs […]

Microsoft PowerApps is a valuable platform for many companies. It allows you to create apps and services and access a […]

A secure, functional, and robust database is essential for modern business organizations. There are many database options on the market, […]

You are not alone if you are unsure about what is included in the Microsoft Power Products platform. These five […]

It’s hard to remember a time without Microsoft SQL Server. After all, it’s almost 50 years since its initial release. […]
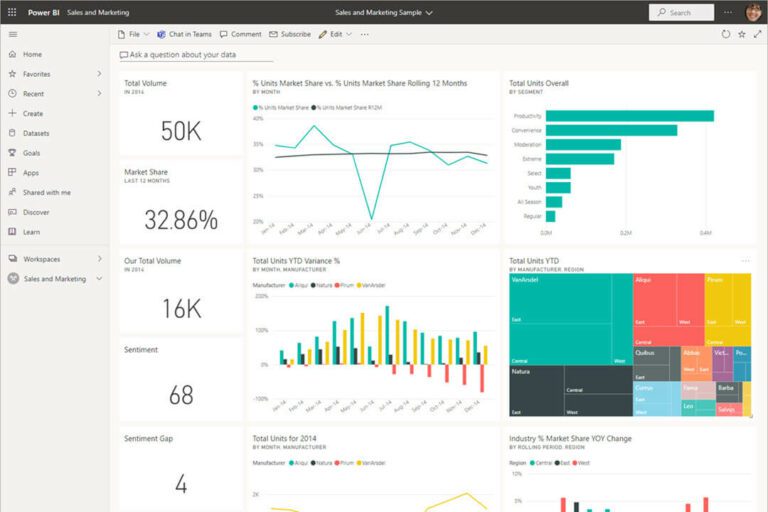
A business intelligence dashboard is an analysis and data visualization tool. Ideally, it displays your business metrics and data points […]

Analysts expect the global workflow automation market to grow by 5.8% from 2020 to 2025. Is your business part of […]

Having solid business processes is key to helping your company thrive. However, managing them takes a lot of time and, […]

Choosing whether to migrate your file server to SharePoint may be challenging. Perhaps you wonder if the results of your […]
Visit any website these days, and you are more likely than not to be greeted by something known as a […]

These days, everything lives in the cloud, and rightly so. A more mobile workforce, modern technology, and the rising cost […]

Expertise. Experience. Service. You deserve nothing less. Let’s create a solution that works for you.